High quality product photography is essential for the success of your ecommerce store. Your images will either make or break sales.
However, you don’t need to be a professional to create quality content. The only difference between inexperienced writers and professionals is experience.
If you are a photographer, you can use this guide to learn how to photograph a piece of clothing. There are tips for taking quality photos along with general information about the process.
1. Prepare your clothing
You want your products to look their best when pictured in images. The clothing can become wrinkled and creased if it is folded or stored wrong. Harsh conditions on clothes, such as those encountered when traveling, can result in the clothing damage appearing in photos.
Many people rely on Photoshop to help with editing, rather than taking the time for a photo shoot.
To produce the best garment, take a picture as well as you can and then manipulate it in Photoshop.
Inspect your product for details, then remove the tags and stickers. If it’s wrinkled, iron or steam it, then repair damages and remove any distractions.
2. Set up your photo studio
You can turn nearly any space into a photography studio with a few items. You need only a camera, tripod, white wall, C-stand, tape, natural light and a few more things to have complete control over when and where you shoot.

Don’t forget to clear clutter from your area and create a clean space for work.
3. Styling
There are 3 things you can use to style the photo for your online shop. These 3 things are models, mannequin and a flat lay.
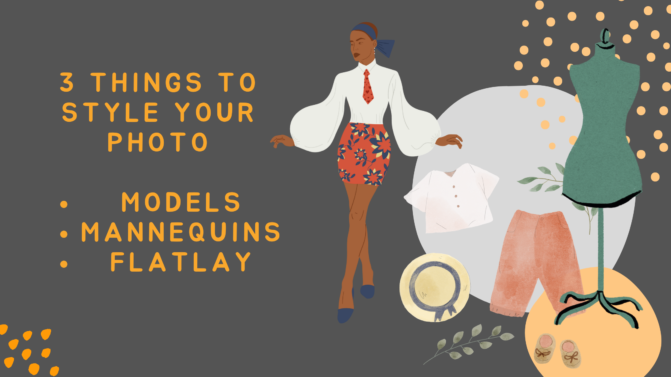
First, Models bring life to apparel which creates a closer emotional connection with customers, but models are very expensive and present an unpredictable process. Models can make clothing come to life.
Second, Mannequins are great because they come in a variety of different sizes and shapes. If your garment looks too big, try fitting it closer to your mannequin by pinning it and tucking it until it fits properly.
And lastly, A flat lay is a style of photography that puts objects on a surface and takes the photo from above. This style of photography can help you capture high-quality product photos. This technique is often used for uploading photo content on social media, but it can also be used for website content.
4. Take the photo
Grab your camera, and point the lens at your subject, half-press the shutter release button to focus your shot, then take the photo. Adjust settings for more or less light on future shots based on how you need them to look. The more photos you take, the better you’ll get at adjusting things on the fly.

You may want to take a variety of photos to highlight the best qualities of your product.
Your website’s product page should always have more than one photo of the product to increase sales. Multiple angles, like up close and from a distance, are also recommended to generate customer buy-in with their impressions of the design.
5. Finalize in post
To prepare your images for the web, it is important to maintain a balance between looking professional and optimizing performance. There are many tools available to enhance and retouch images, including Aperture Post Production.

The best way to outsource is to hire remote workers, who can complete the simple task of rendering digital assets.
You should know when you should shoot and edit your content to maintain a high quality and professional look.